Drive Thru Plans
For sites operating with drive thru, a dedicated plan is created to manage order and payment points, as well as the number of spaces and parking bays available, this page outlines the design and customisation of the plan.
Drive Thru Plans Topics
Setup
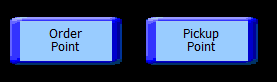
The order point is where all orders are started for a drive thru order.
Follow these steps to add a order point:
-
Right click on the black canvas and choose a New Order Point
Only one order point can be added -
Right click on the black canvas and choose New Drive Thru Space
Add as many spaces as needed between the order point and the pickup point, these must be added before the pickup point can be added. If the pickup point had already been added select this and press <delete> on your keyboard to remove it then more spaces can be added -
Right click on the black canvas and choose New Drive Thru Space | double click on this numbered space and set the required type
-
Pay Point - point in the drive thru where the order is paid for but not yet picked up
-
Pickup Point - point in the drive thru where the order is picked up
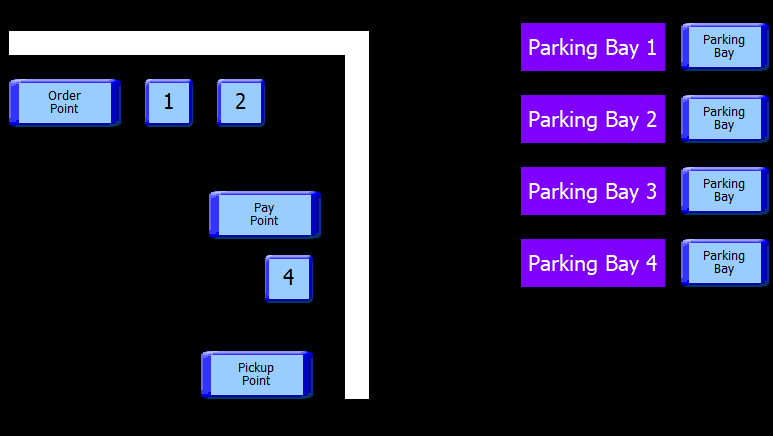
The pickup point and payment point can be the same location or within the plan you can have the required configuration that meets the operational needs of the drive thru
For example you could have:
Order Point → Pay & Pickup Point - in this very simple example there is no spaces for any other cars and there is one window where all actions happen
Order Point → Drive Thru Space → Drive Thru Space → Pay & Pickup Point - in this example there is an additional 2 space between the order point and the pickup and pay points

Order Point → Drive Thru Space → Drive Thru Space → Pay Point → Drive Thru Space → Pickup Point - in this example the pay and pickup points have been separated by one additional drive thru space

-
-
Select the required point of sale terminal from the Assign Terminal drop down
-
Click OK
-
Drive thru options can be resized using the toggles on the button to drag and increase / decrease the size
-
Click Save
Parking Bays
An optional feature of the drive thru plan is the ability to add parking bays. These allow orders that have not yet been fully collected to be moved into a bay until the complete order is ready to be served and closed.
Follow these steps to add parking bays:
-
Right click on the black canvas and choose New Parking Bay
-
Add as many parking as required
-
Parking bays can be resized using the toggles on the button to drag and increase / decrease the size
Zonal recommends adding text labels next to each bay so they can be easily identified on the plan -
Click Save
Other Options
Adding Labels
Labels are useful for identifying different areas and for building up sections or walls on the plan, helping to create a layout that more accurately reflects the real world space.
Follow these steps to add labels:
-
Right click on the black canvas and choose an New Label
-
Update the Text Label and Font Size (if required), choose the required Text and Background Colour
Zonal recommends removing text and setting both colour options to be the same to create walls or dividers for the plan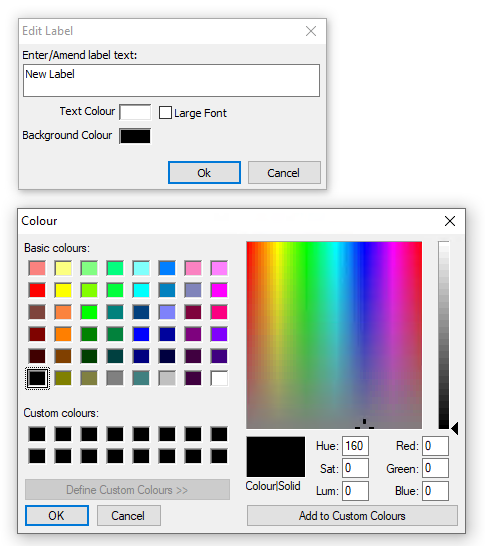
-
Click OK
-
Click Save
Deleting Objects
Follow these steps to delete a table:
-
Click an object on the drive thru plan
-
Press the <Delete> button on your keyboard
-
Click Save